
If you’re considering delivering WordPress pages as Static HTML files, you’re probably looking for an easy and hassle-free process. If so, this post has your back! We are going to use the:-
Serve Static WordPress plugin – the Automatic WordPress Static Page generator 😊
Install “Serve Static” WordPress plugin
You can easily install it from the Add Plugins section of your website. Search for the term “Serve Static by Rajin“. The WordPress.ORG link: https://wordpress.org/plugins/serve_static/
Below is how the plugin looks in the Add Plugins section.
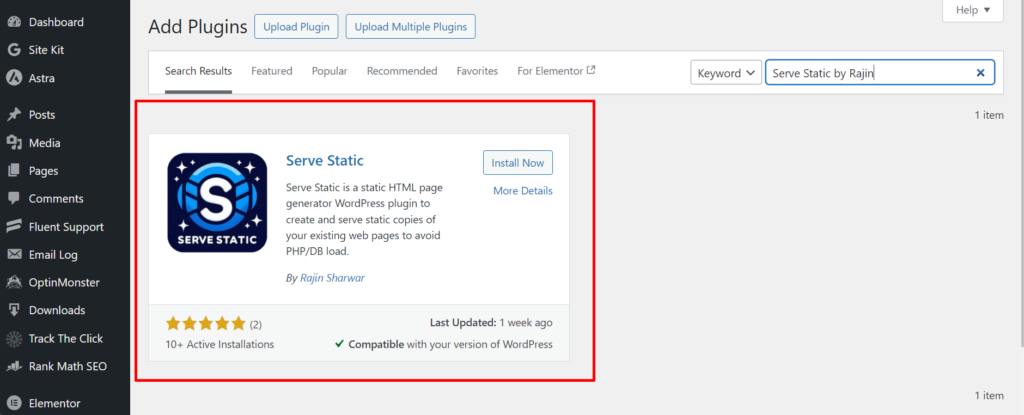

Click “Install Now“, and Activate it. That’s it for Step 1!
Configure “Serve Static” settings
After you activate the plugin, you will be redirected to its Settings Page. If not, you can find the Settings page in your WordPress Admin Dashboard, from Serve Static > Settings.
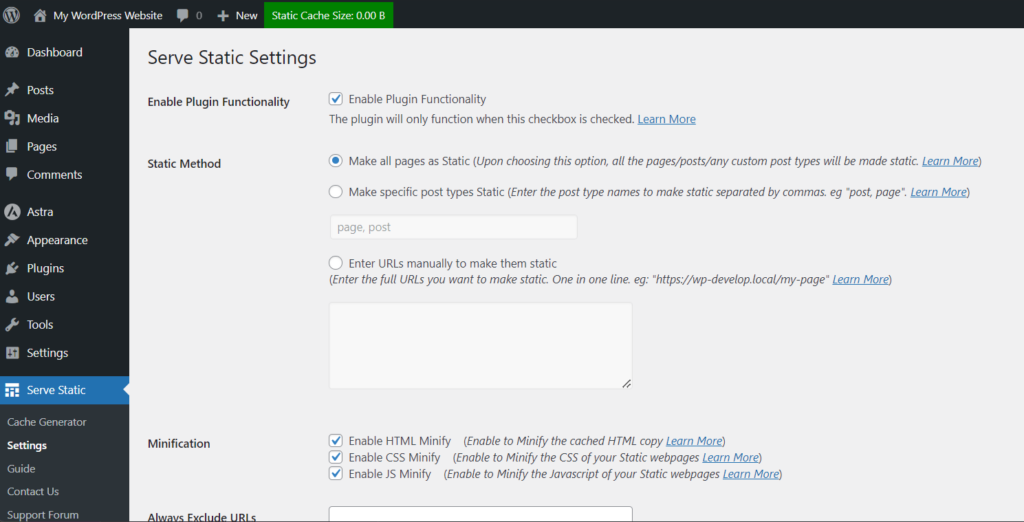

First, let’s enable the “Enable Plugin Functionality“. This is like a master key of the plugin. If not enabled, nothing works. 🙂
Secondly, you can choose to make you all your pages Static, specific post types, or even specific URLs. This is really handy if you have dynamic pages on your website as well. Then, you can choose if you want to enable any sort of Minification on your HTML files or not. You can try enabling all the modifications, but incase you find something breaks, simply disable that modification. And open a support thread at Serve Static Forum from here describing your case: https://wordpress.org/support/plugin/serve_static/
Next, you can select the Cache Warmup Requests Interval. This is the request interval for every cache warmup request. If you have low-performance hosting, use a value of 1 or 2.
Last is the Fallback method option. How “Serve Static” works is by modifying your HTACCESS rules to deliver Static HTML files to your visitors. In any case, if your HTACCESS rules don’t work, or your server doesn’t allow custom rules, or your hosting has an issue with the mod_redirect module, the default behavior of Serve Static will not work. In that case, you may need to use the Fallback PHP method for serving the cache. This method loads the WordPress and then serves HTML to your visitors. This method is less efficient, but still fast enough to give you some boosts! ⚡
There is also a helpful guide documentation for you in the plugin menu.
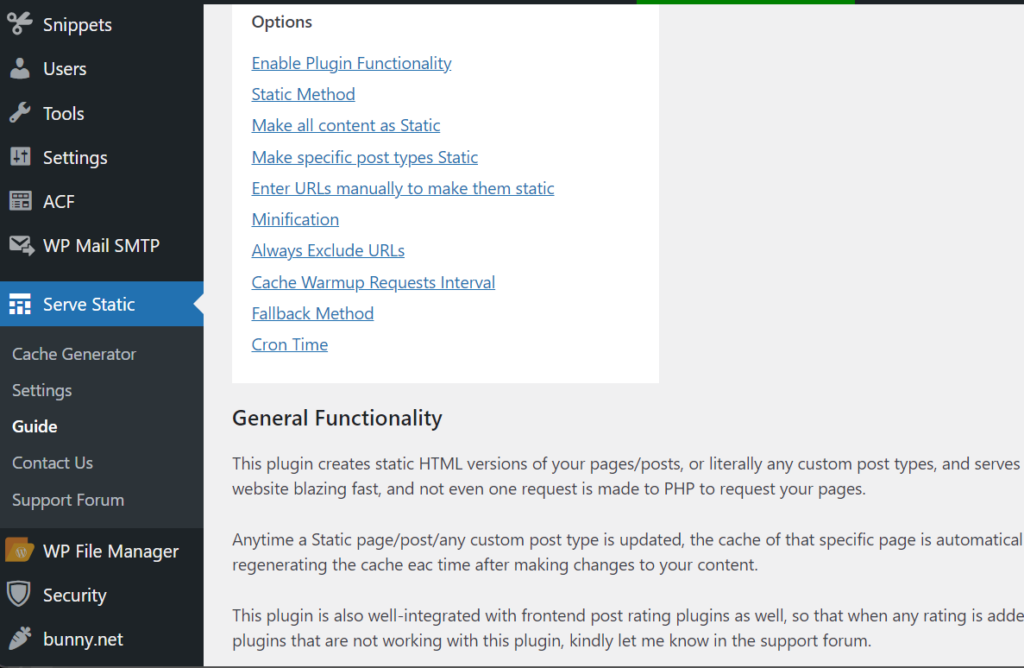

After you’re done tuning the settings, click “Save Settings“.
Click “Create Cache FIles”
After you’re all done, navigate to Serve Static > Cache Generator.
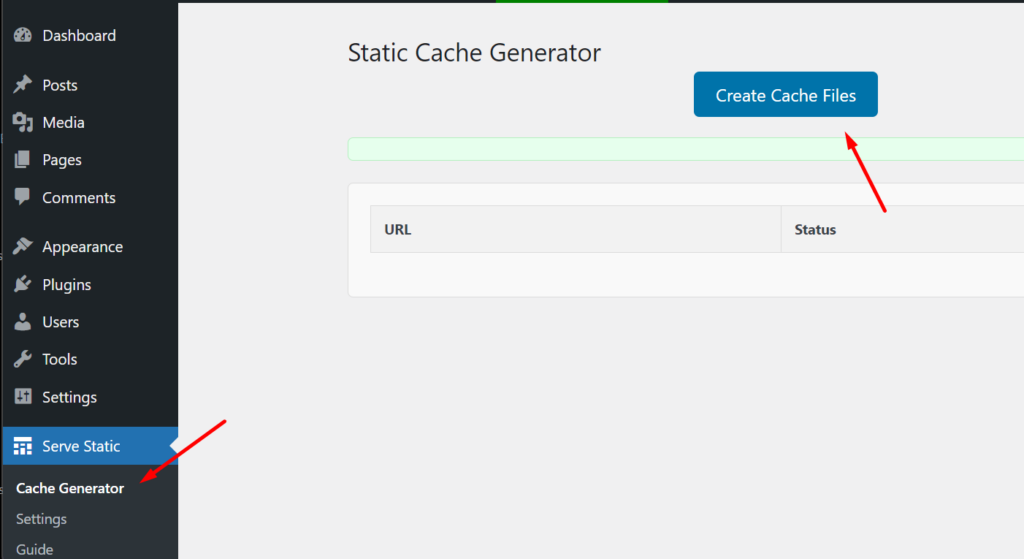

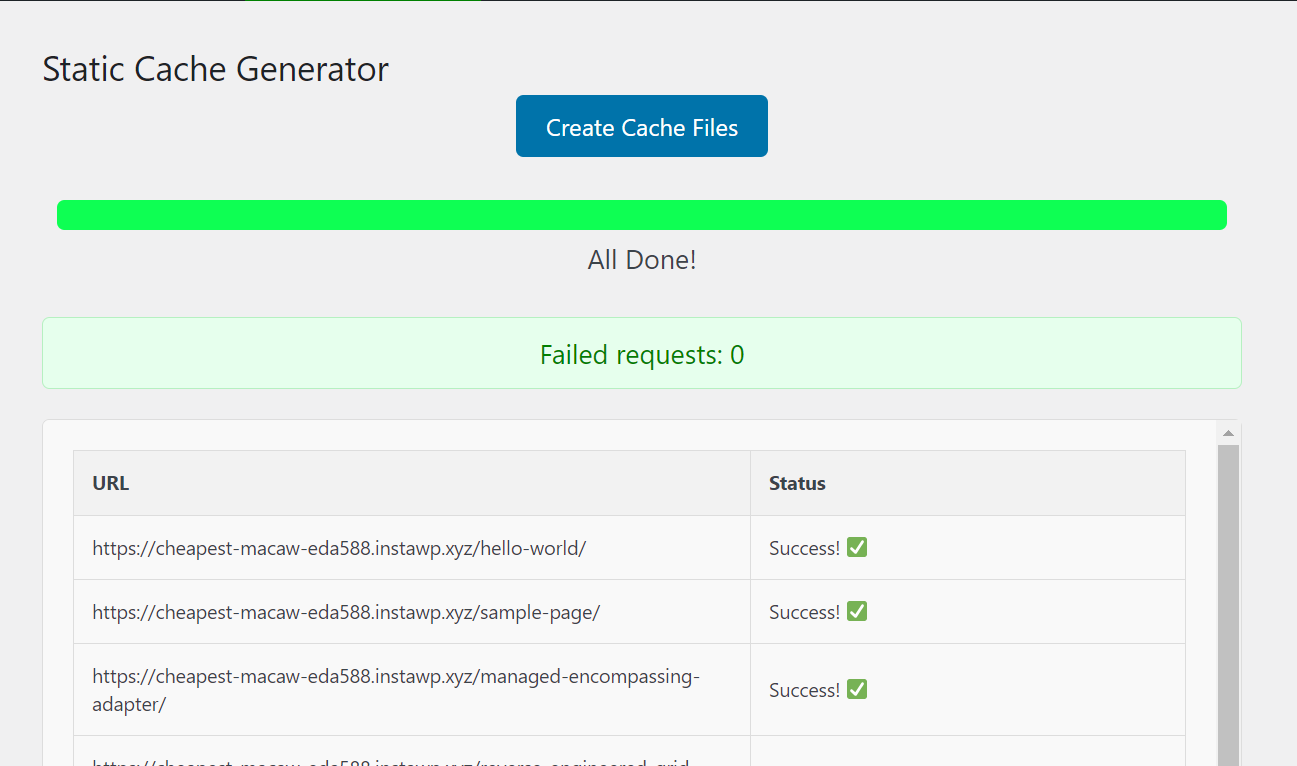
Click on Create Cache Files. This will start warming the HTML cache for you and will start creating static HTML files of your WordPress pages, according to the settings you have set previously. You can find real-time progress there, and after it’s done, you will see “All Done…“
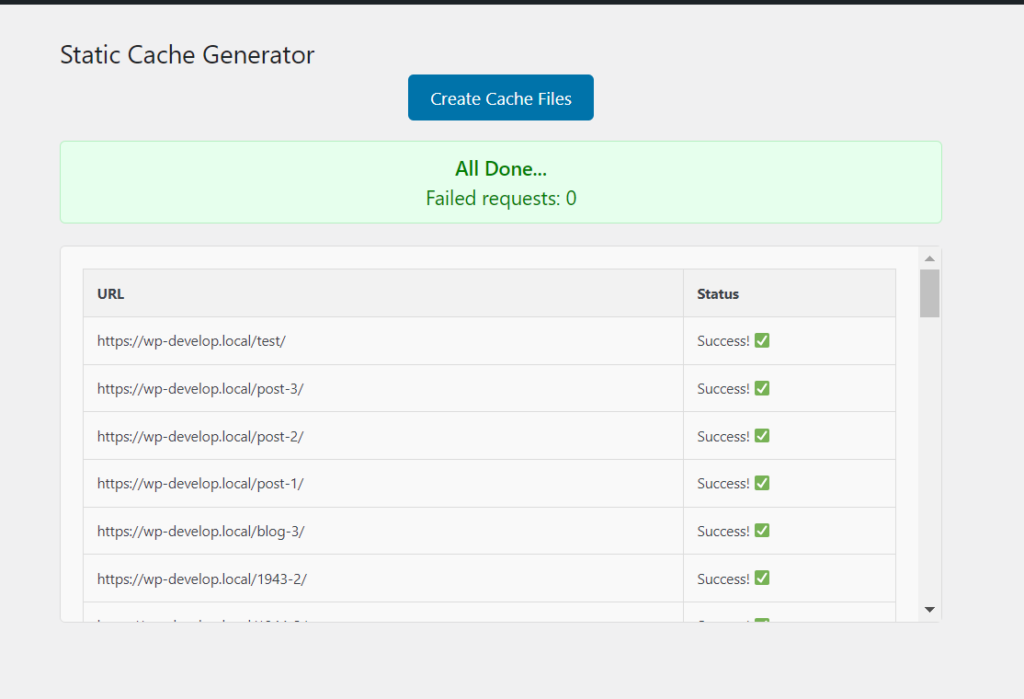

That’s it! Your website is now serving static HTML files to your visitors, instead of hitting the PHP, WordPress, or even the database. Every visit to your pages simply gets delivered from those Static HTML files, and nothing hits your database or WordPress. 🙂 How cool is that!
And the best part is, the HTML cache of those pages is automatically regenerated, and updated every time you make changes to those pages, or update them. The HTML cache of that page is automatically regenerated each time you update the page, post, or custom post type.
No technical hassle, no techy terms. All simple as “Serve Static – Automatic WordPress Static Page generator“. 😃
A TIP you might need…
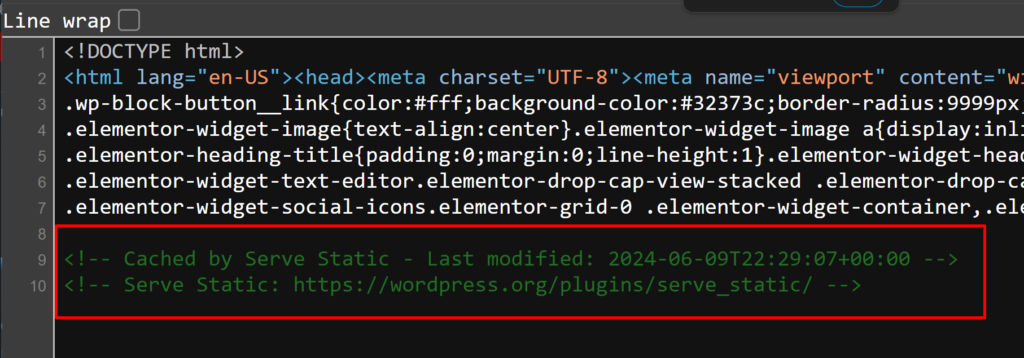
After generating and serving the static files, you can check if the pages you set is now properly serving the HTML version or not. NOTE that, the HTML cache is fully disabled for any logged-in users or administrators. So, please open up an incognito window of the page you have set to be Static, and View its Source. You will see, in the end, there is a text like “Cached by Serve Static”.

That’s it! Thanks for reading, and Happy Static!


